Call of Duty 4 Custom Maps Tutorial
Creating the folders and uploading the files to your game server
The first stage of setting up custom maps on your Call of Duty 4 game server is to create the necessary folders for the maps to run under. In Call of Duty 4 you need to create your own ‘mod’ to run custom maps. To do this you will need to log in to your iNX-Gaming FTP server, using the details provided to you in your welcome email.

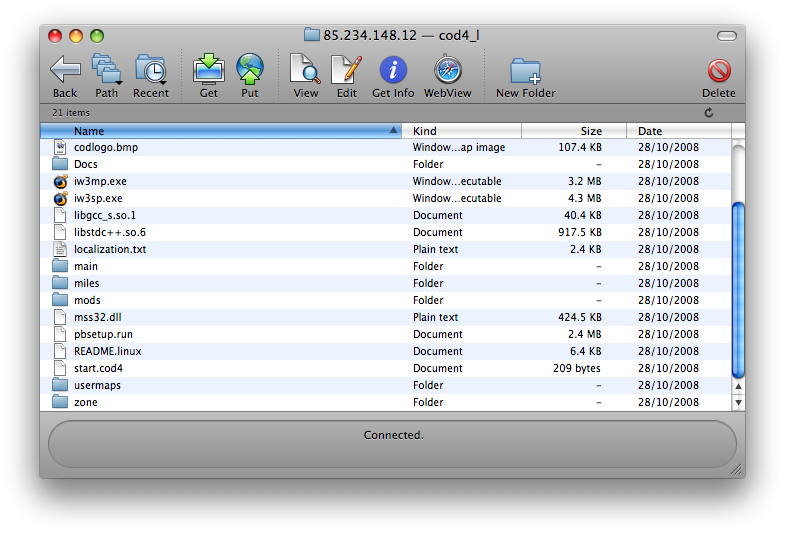
Once you have connected to your game servers FTP you will need to browse to the following folder:
cod4_l/
In the cod4_l folder you will now need to create a new folder, in this case we are going to name the folder ‘usermaps‘.
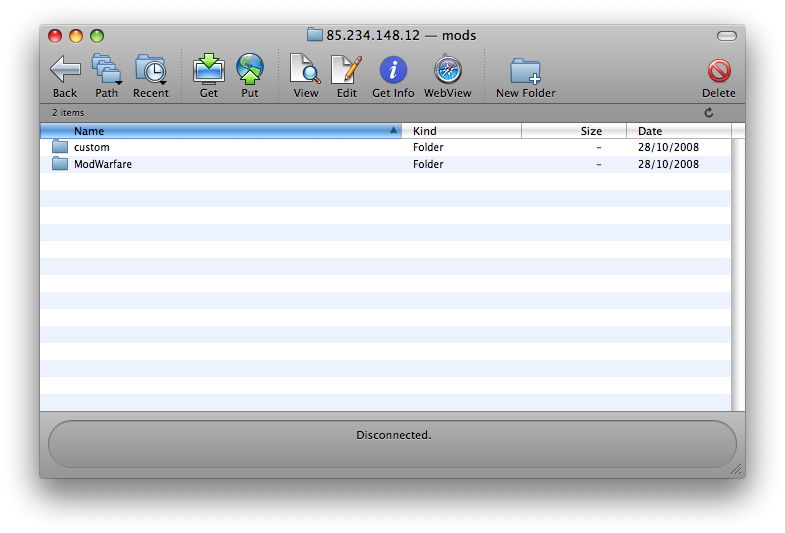
Now that we have our usermaps folder we will need to create a custom mods folder. To do this browse to the folder ‘mods‘. In here you should see another folder ‘ModWarfare‘. Create your custom folder along side the ModWarfare folder. In this case we are going to name our folder ‘custom‘. You should now end up with something similar to this:
Now that we have all of our folders added onto our game server we need to upload our maps. In this example we are going to be using the map ‘mp_scrap’. The first thing you need to do is goto your cod4_l/usermaps folder and create another folder for the name of the map. In this case, our folder name will be ‘mp_scrap‘.
In the folder mp_scrap you will need to upload your .ff files for the map.
|
NOTE: Your map may or may not come with a _load.ff equivalent. It’s ok if it doesn’t, this just means there won’t be a picture whilst the map loads.
|
Once all of the .ff files are uploaded you will need to browse to cod4_l/mods/custom. In here you need to place your .iwd file. You should now end up with a directory structure similar to this:
cod4_l/
cod4_/usermaps
cod4_l/usermaps/mp_scrap (this contains mp_scrap.ff and mp_scrap_load.ff)
cod4_l/mods/custom (this contains mp_scrap.iwd)
If your directory structure looks like the one above then you have successfully loaded your custom maps onto your game server. You may want to test your custom maps to ensure they are working as they should and haven’t been corrupted during the upload/download process.
The final stage of this section is to take a copy of your server.cfg and maprotation.cfg and place them into cod4_l/mods/custom
Setting up your webspace
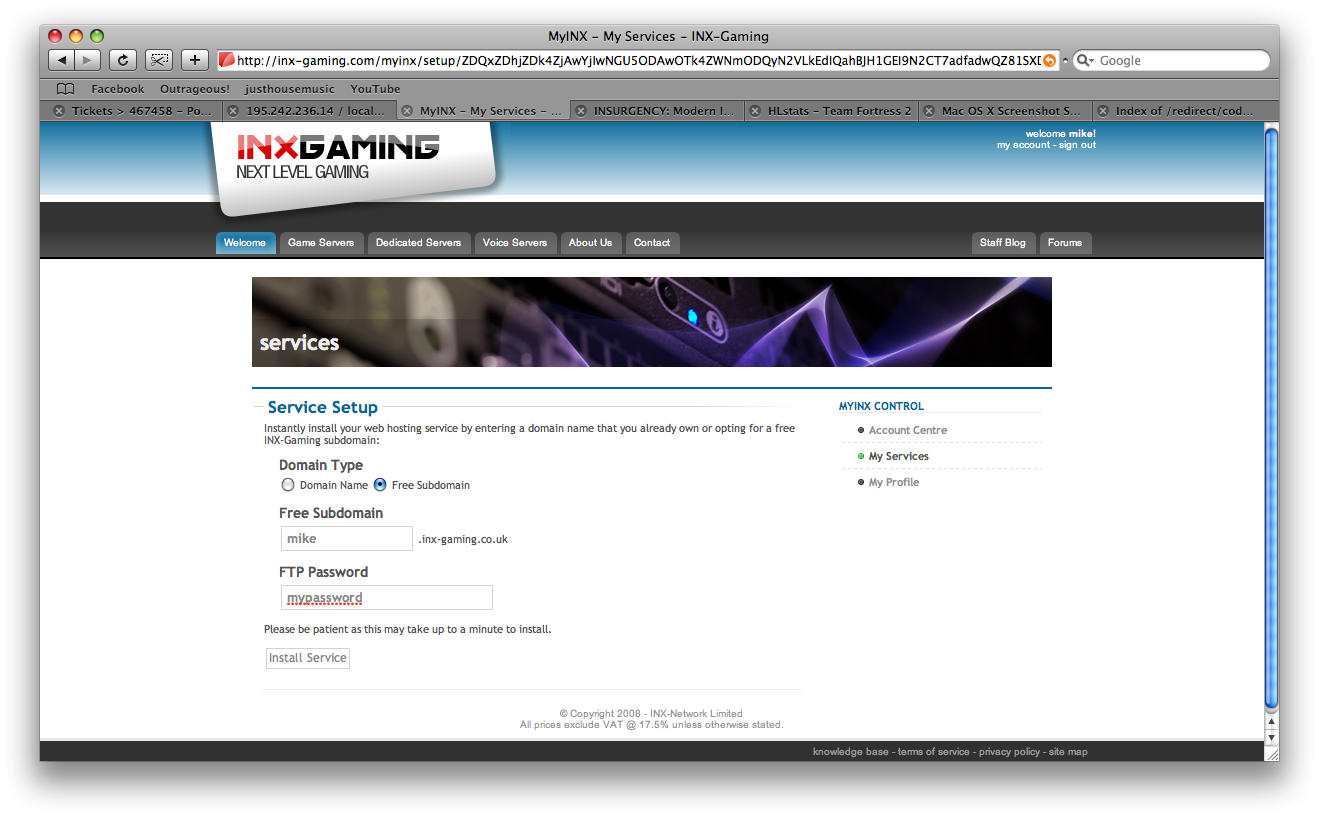
Now that we have your custom maps loaded onto your game server, it is likely you’ll want to keep the download time to a minimum. To do this you will need to setup your free webspace that comes with your iNX-Gaming server. The first step is to login to your MyINX control panel and select ‘My Services‘. Here you should see the option for your web space, click install (if you haven’t installed it already) and enter a valid subdomain and password. You will then be given a username to login with.
Now that you have been given your free webspace login, open up a new ftp window and connect using the details provided. NOTE: If you do not receive any login details or the screen turns blank, please submit a support ticket.
What we need to do here is replicate the file structure on your game server exactly. The first step is to browse to your public_html folder. Once there, create a new folder – this can be anything you like. In this example I am going to call it COD4Maps. Now that we have our new folder, enter it and create the same file structure as you did on your game server. In brief it should look like this:
public_html/COD4Maps/usermaps
public_html/COD4Maps/mods
public_html/COD4Maps/mods/custom
Again, same as before, in your ‘usermaps‘ folder you are going to need to create a new folder with your map name. In our case, it’s mp_scrap. In this folder you need to upload your .ff files again. In your ‘mods/custom‘ folder you will need to place the .iwd file. You will now see the directory structure matches the same one on our game server exactly.
Linking your game server and your webspace together
The next stage is to link your game server and webspace together. This will allow the game server to check your webspace to see if the custom content is available to download, if it is then it will download it from the webspace rather than the game server – resulting in much faster speeds.
To link your servers together you are going to need to edit your server.cfg. This is the one we moved earlier and NOT the one in your ‘main‘ folder. The next step is where quite a few people go wrong, so make sure you’ve matched everything up to the way its shown below. You will need to find the following lines of your server.cfg
// Client Download Settings. (0=off/1=on) Used for MODs and custom maps
// See included Quick Setup Guide for instructions.
//set sv_allowdownload “1″
//seta sv_wwwDownload “1″
//seta sv_wwwBaseURL “http://www.your_website.com/base_folder”
//seta sv_wwwBaseURL “ftp://client:client@ftpfiles.myftp.org”
//seta sv_wwwDlDisconnected “1″
The two forward slashes (‘//’) represent a comment – anything after these two characters on the same line is ignored by the game server. You will need to remove the forward slashes from the ‘set sv_allowdownload‘, ‘seta sv_wwwDownload‘, ‘seta sv_wwwBaseURL‘ and ‘seta sv_www.DlDisconnected‘ lines. They should now look like this:
// Client Download Settings. (0=off/1=on) Used for MODs and custom maps
// See included Quick Setup Guide for instructions.
set sv_allowdownload “1″
seta sv_wwwDownload “1″
seta sv_wwwBaseURL “http://www.your_website.com/base_folder”
//seta sv_wwwBaseURL “ftp://client:client@ftpfiles.myftp.org”
seta sv_wwwDlDisconnected “1″
The first two uncommented lines can stay the same. We need to edit the sv_wwwBaseURL to represent our website. In my case this would be http://mike.inx-gaming.co.uk/COD4Maps/. Yours will most likely be different.
Note: We do not put the public_html folder into this line. The public_html folder is the default folder your game server will access.
We also need to change sv_wwwDlDisconnected to 0, as we don’t want players disconnecting once they have downloaded the map. Your final server.cfg section should now look like this:
// Client Download Settings. (0=off/1=on) Used for MODs and custom maps
// See included Quick Setup Guide for instructions.
set sv_allowdownload “1″
seta sv_wwwDownload “1″
seta sv_wwwBaseURL “http://mike.inx-gaming.co.uk/COD4Maps”
//seta sv_wwwBaseURL “ftp://client:client@ftpfiles.myftp.org”
seta sv_wwwDlDisconnected “0″
Now that it is all setup, you need to save your server.cfg file and reupload it to your cod4_l/mods/custom folder.
Adding the mod to your startline
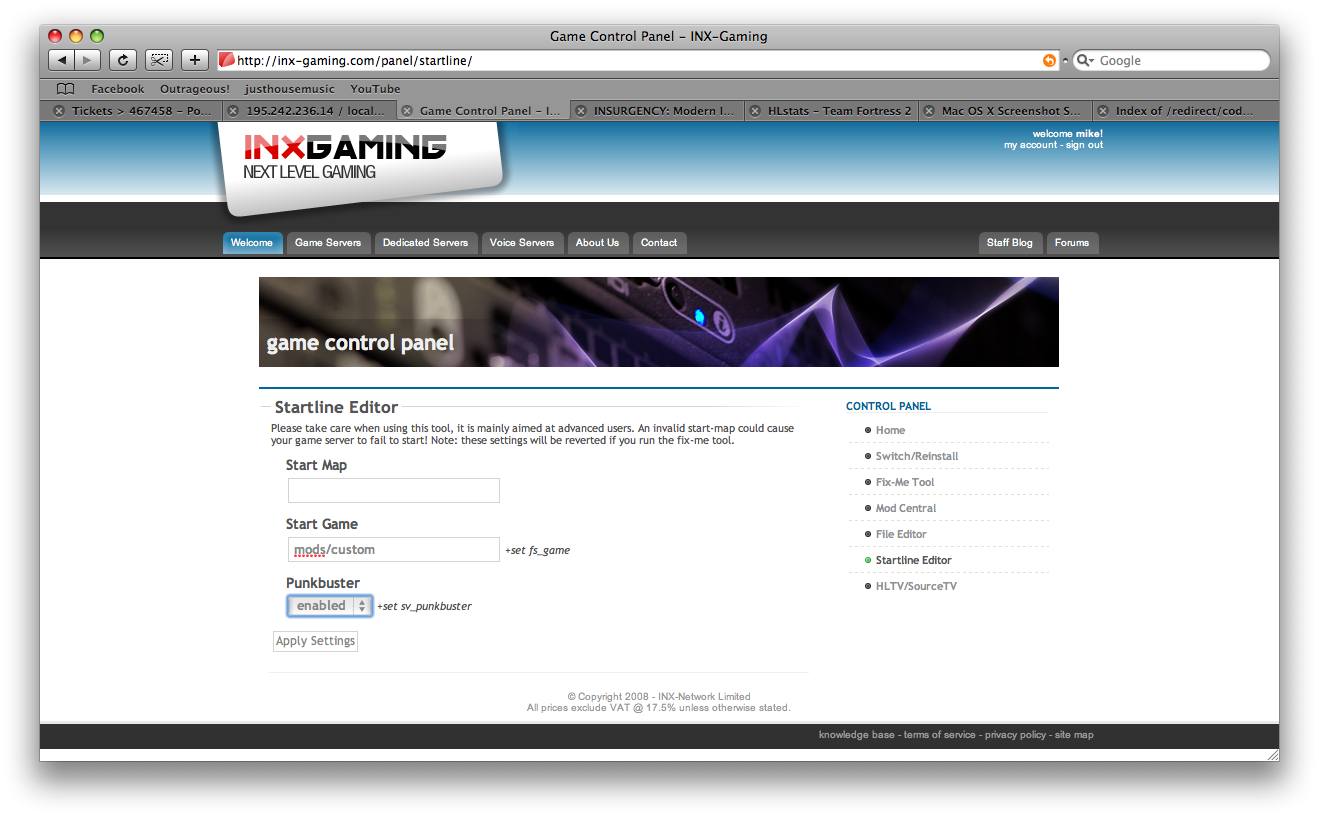
The finl step is to make your game server run your new maps. You need to do this through your startline editor located in your MyINX control panel. If you head to My Services and select your game servers control panel you will see the startline editor on the right hand side. Select this and in the +fs_game field enter mods/<yourmod>. In my case this would be mods/custom.
What to do if it doesn’t work
1) The first step is to double check your sv_wwwBaseURL. Copy and paste the url from your server.cfg file and put it into your browser. If your browser can’t find the website, neither can your game server.
2) If you tried the above step and it still doesn’t work, make sure you haven’t put a trailing slash on the end of your URL:
seta sv_wwwBaseURL “http://mike.inx-gaming.co.uk/COD4Maps” – GOOD
seta sv_wwwBaseURL “http://mike.inx-gaming.co.uk/COD4Maps/” – BAD
3) Ensure all the maps are uploaded into their correct folders and you have placed the .iwd files in the correct place
4) Ensure you have correctly added your mod to the start line – it should read +set fs_game mods/<yourmod>. If it doesn’t, head back to the startline editor and readd it again.
5) If you’ve tried all the above and it still doesn’t work, submit a support ticket and we will check it out for you.